Tenant route
Follow three everyday scenarios: get access to a building, arrange a customer visit, and submit construction work. Start with the scenario you need today.
First visit: get your unit into the building
Scenario: you can sign in, but the destination is missing from My Buildings.
Before starting, confirm you are a unit administrator and have verified your email. Other users should ask their administrator to handle joining.
- 1. Find your building
- 2. Select a building
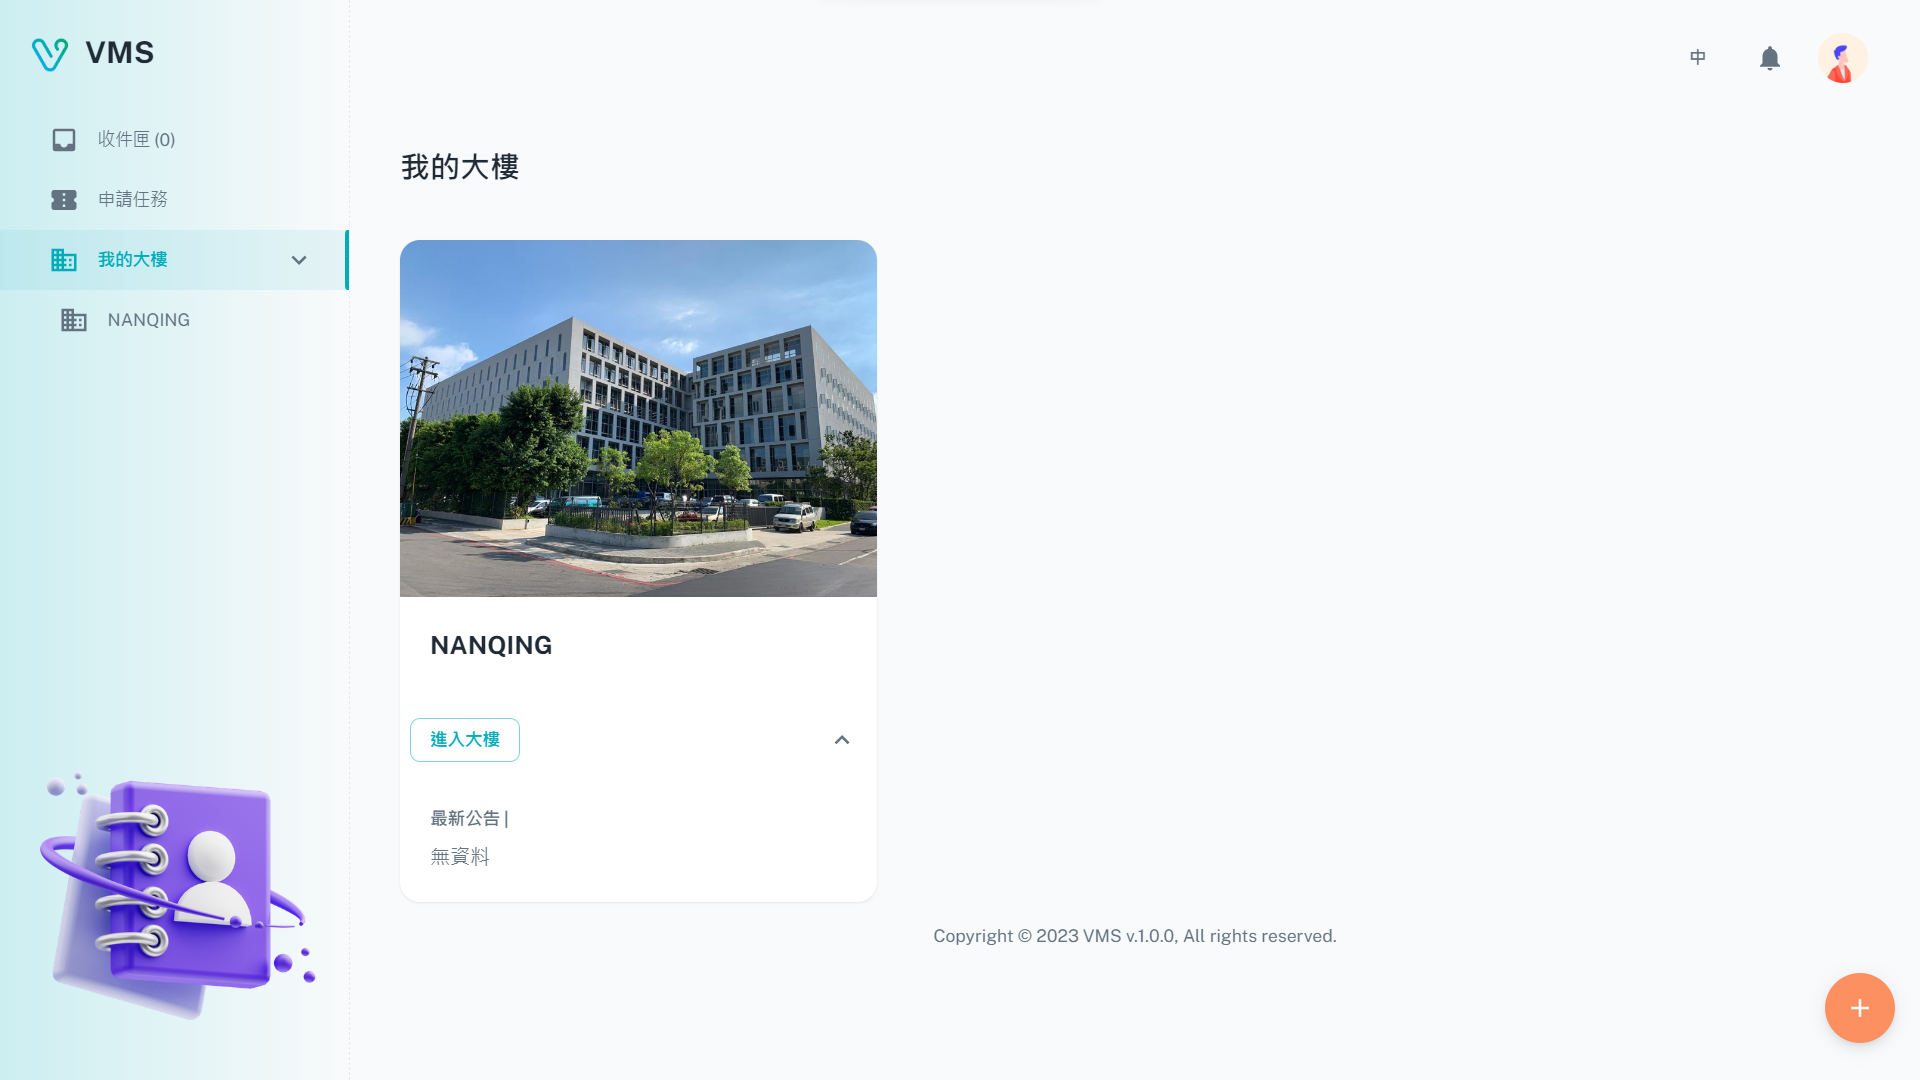
Check the building cards first. When the destination is already listed, continue with your application.
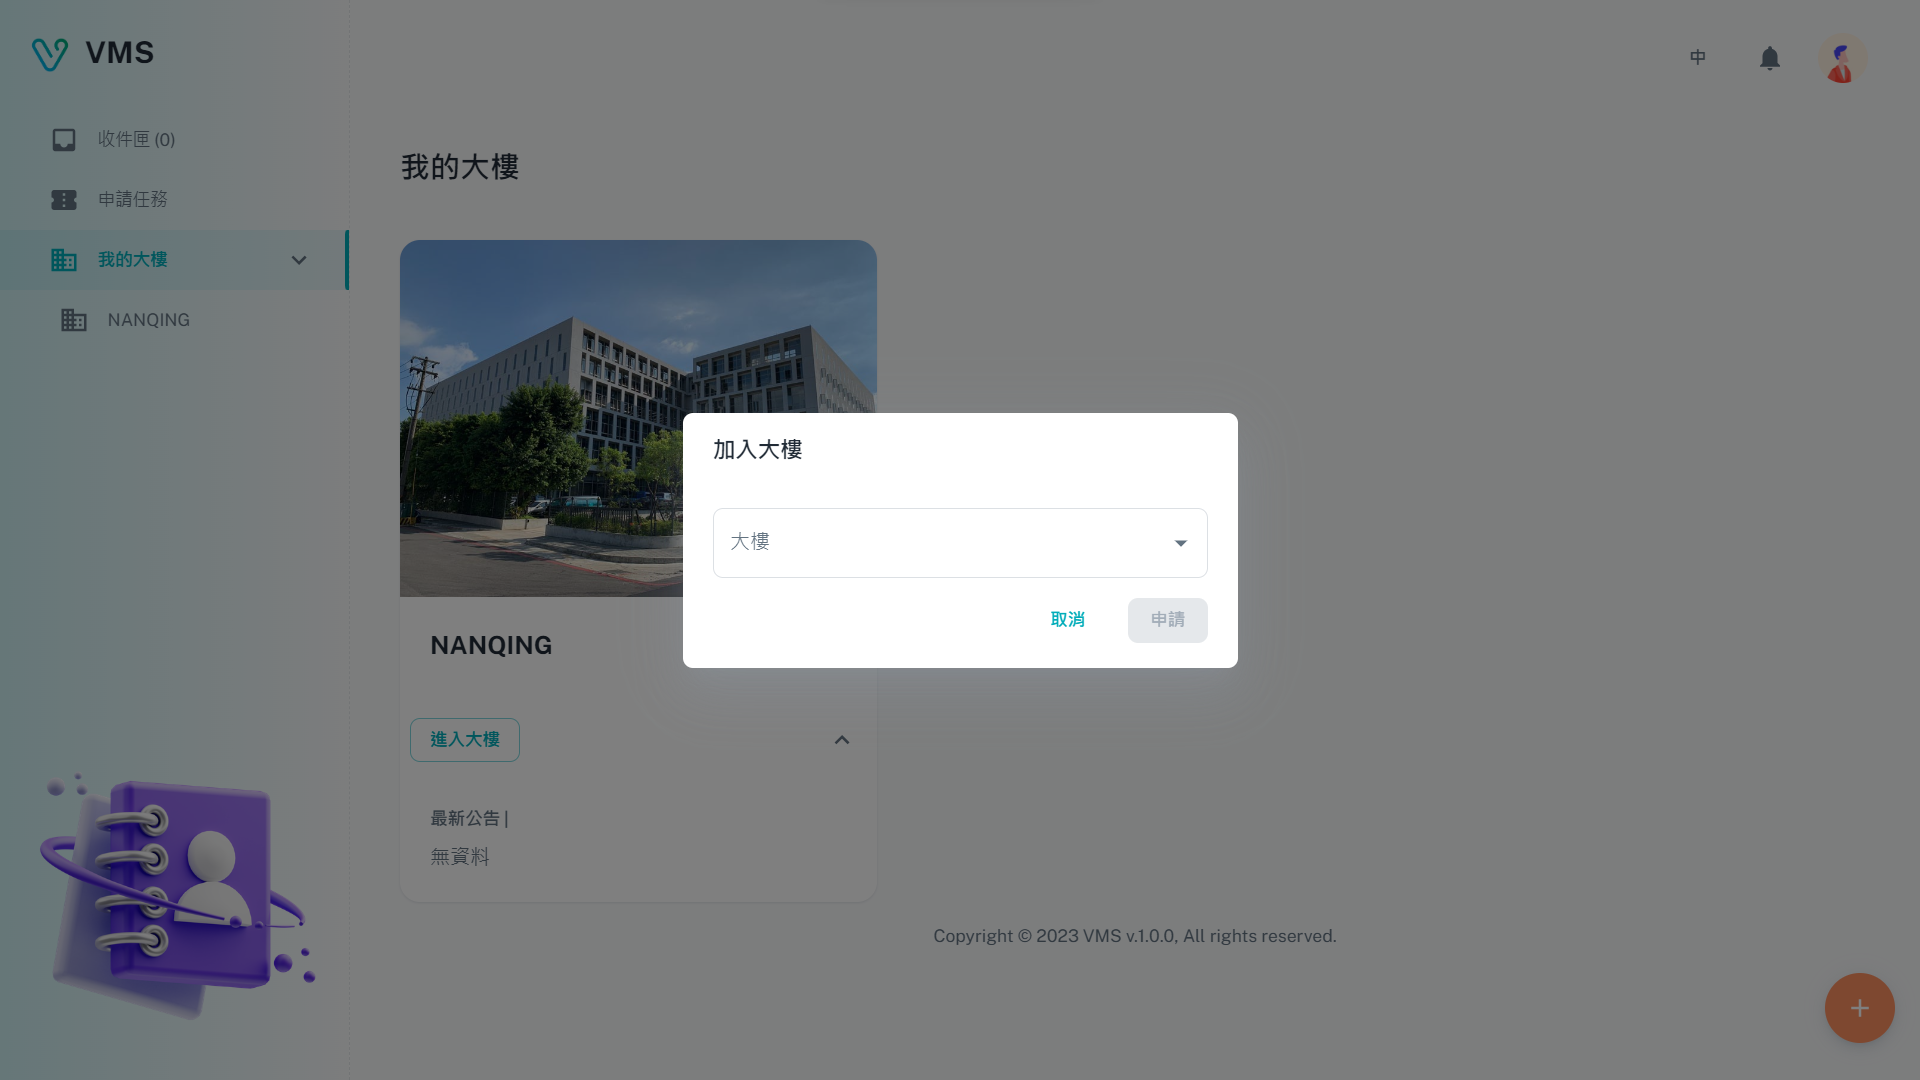
Choose the building before completing its join template. This earlier dialog shows the selection step; the current flow also requires the applicable forms.
This earlier screenshot illustrates the feature. The current layout and button labels may differ.
- Sign in and open My Buildings. If the destination is already listed, you can start applying.
- If a BM invited you to register, complete registration through that link and check the building again. This route does not require a separate join-building application.
- To apply yourself, select Create and search for the building by name or address.
- If the building has a valid join-building template, select Create and complete every required tab before submitting.
- Follow the application progress. After joining is completed, confirm the building appears in My Buildings.
Check the result: you know whether joining is complete or which application step is still pending. If no valid template is available, contact the BM.
Details: Joining and viewing buildings.
A customer is coming tomorrow: prepare the person, then apply
Scenario: the building needs to know who is visiting and when.
Before starting, join the destination building and prepare the visitor’s name and required contact details.
- 1. Find the visitor
- 2. Prepare visitor information
- 3. Choose the application
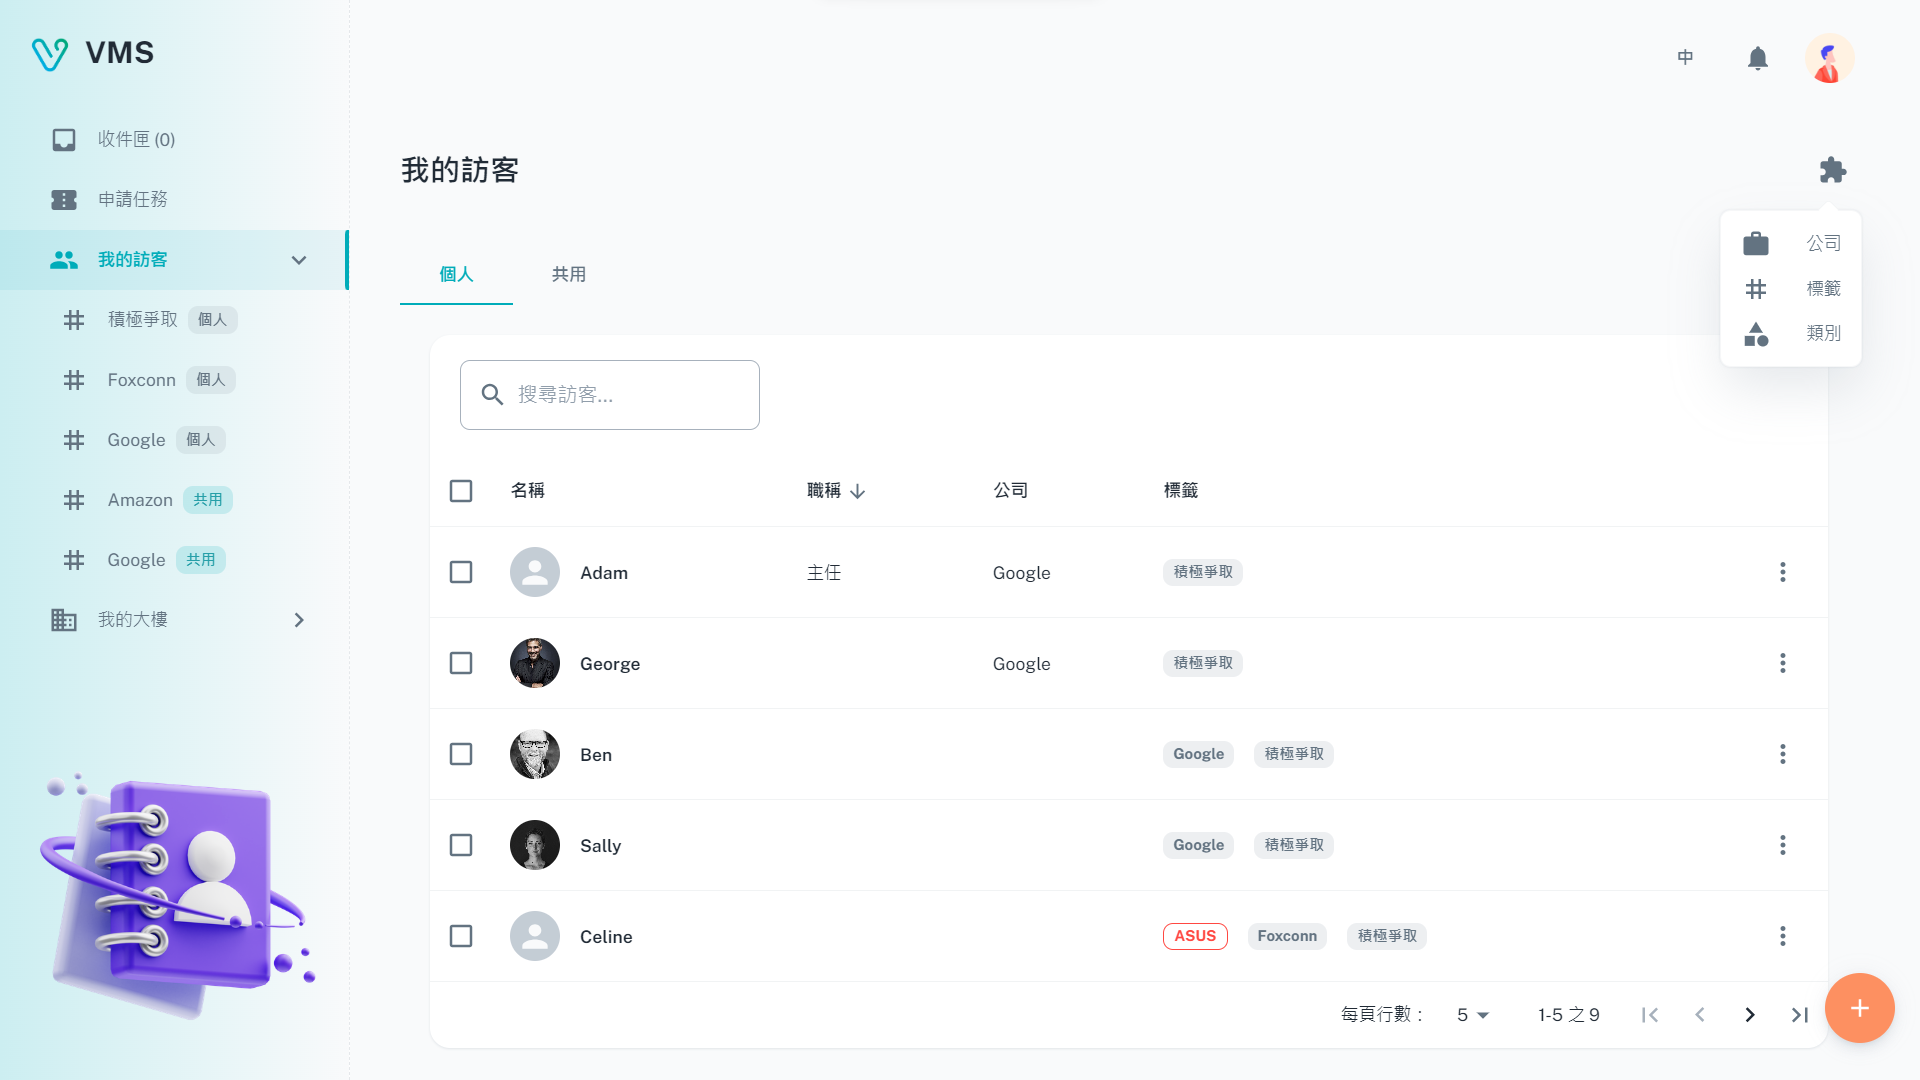
Start with the Personal or Shared directory and search for an existing visitor. The latest directory has a revised layout.
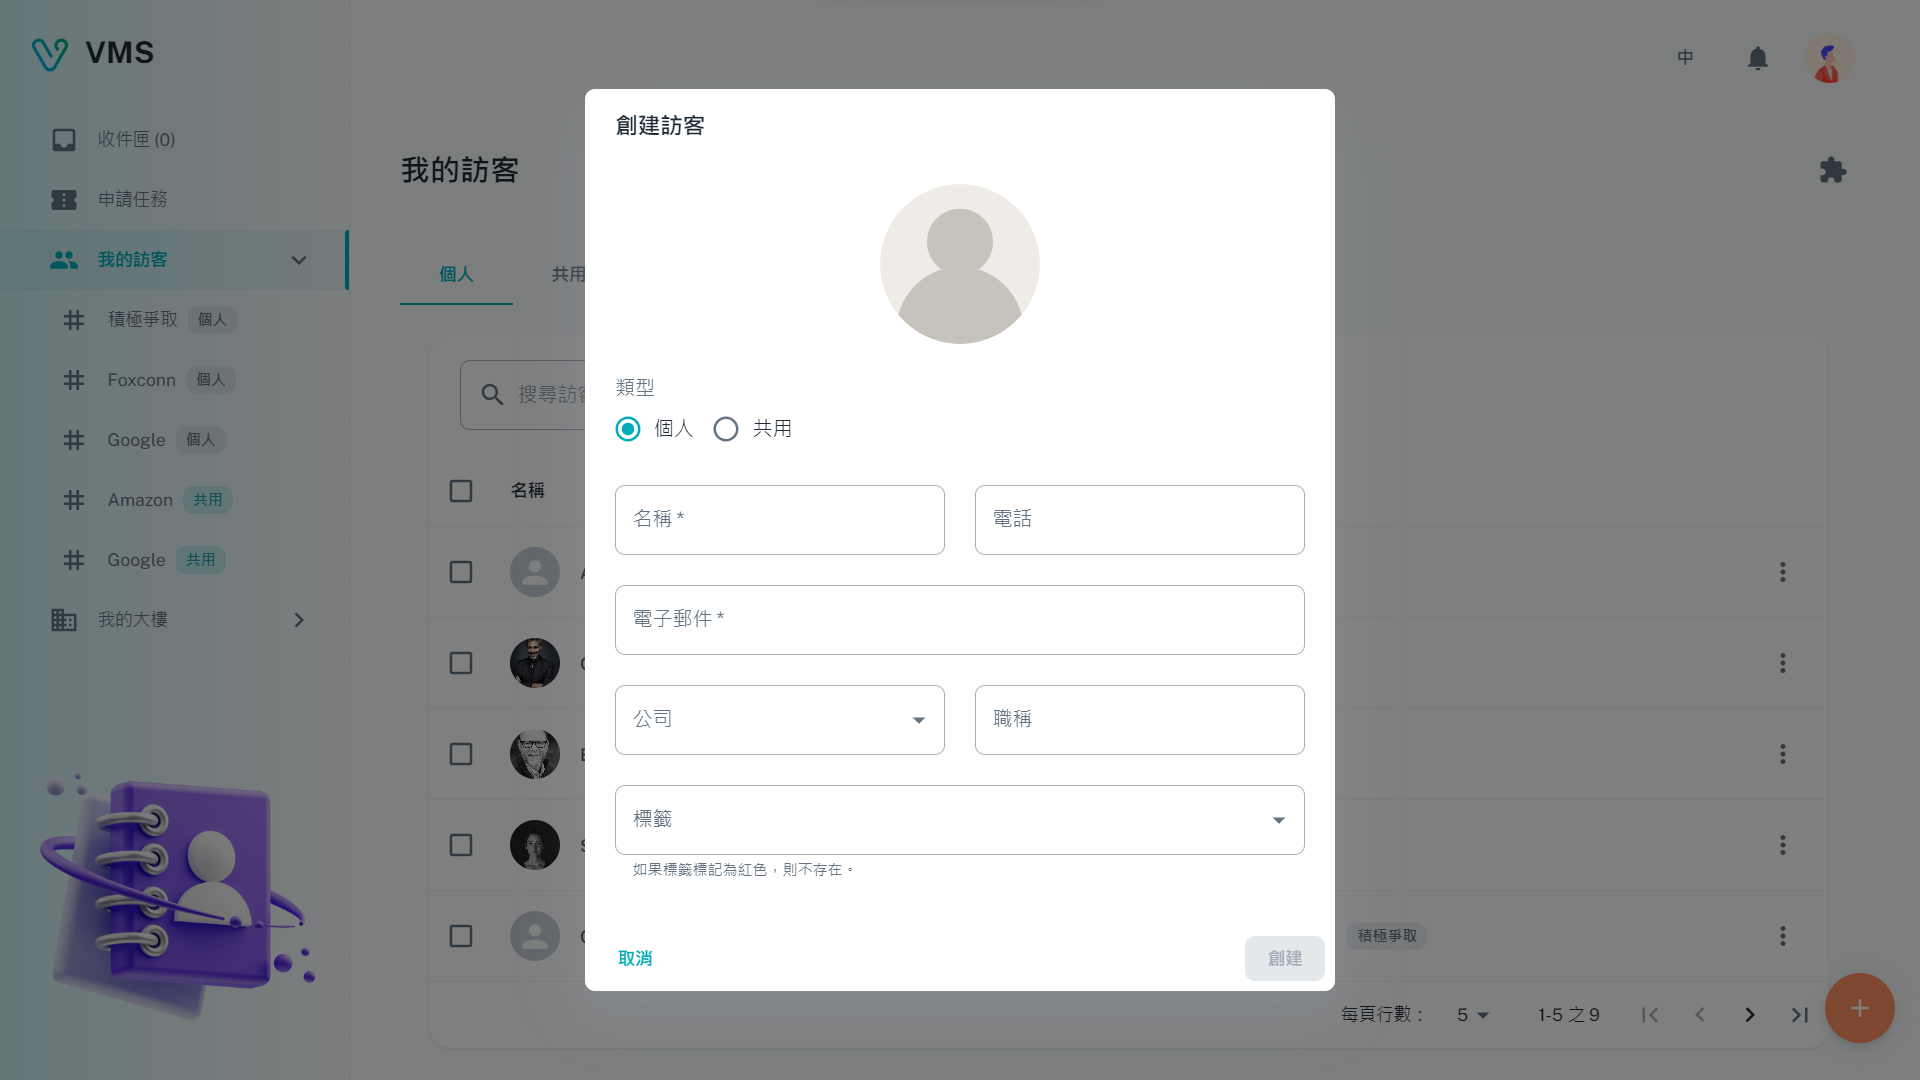
Enter the required name and available contact details. Save the record before choosing it in an application.
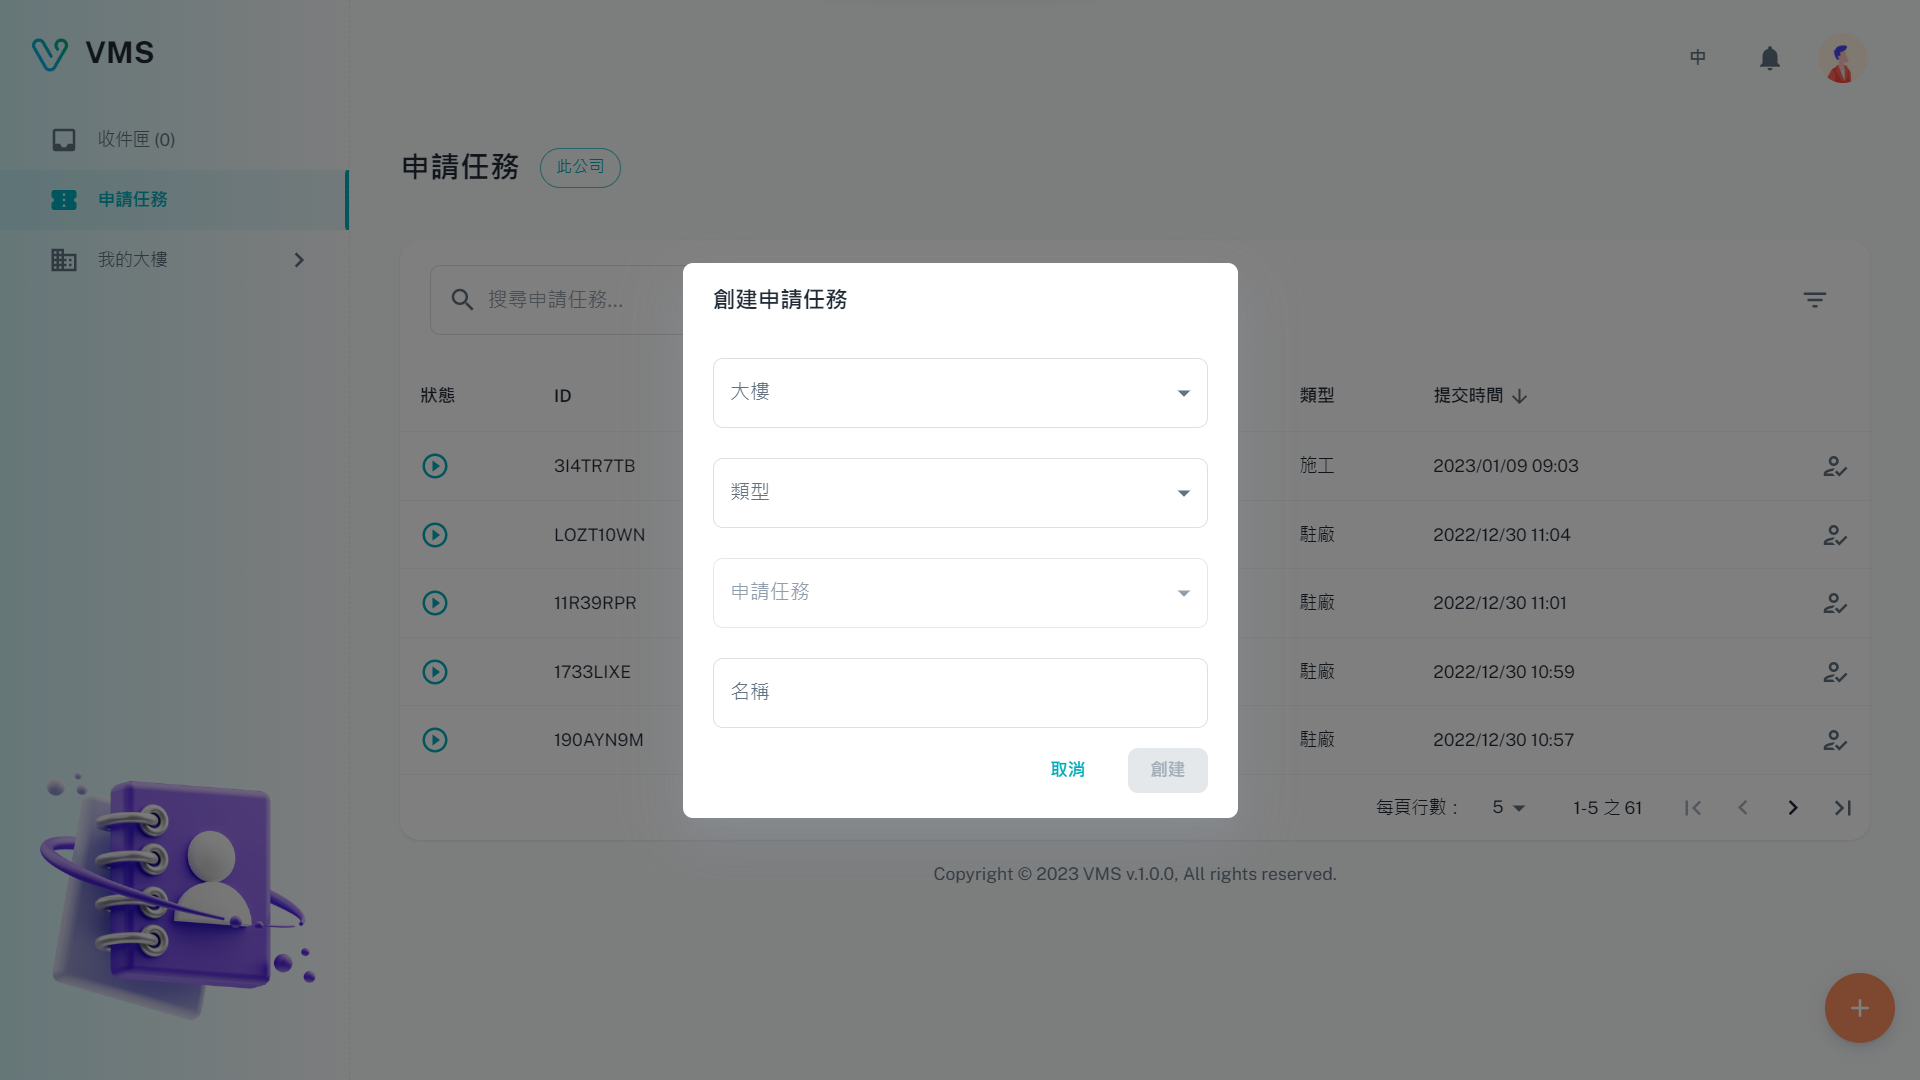
Check the building and application type before selecting a template. The current dialog then guides you through the applicable forms.
This earlier screenshot illustrates the feature. The current layout and button labels may differ.
- Open My Visitors and search for the person first. Check an existing record, or create one if needed.
- Save the visitor. Open Tasks, select the “+” control, and choose the building, visitor type, and available task template.
- Follow the dialog to name the task and complete its applicable forms. If a form contains a Visitor Selector, choose the visitor you prepared.
- Check the date, destination, attachments, and approvers. Complete required content and use the available create or submit action.
- Open task details and check every ticket. Continue any ticket that still needs completion or submission.
- Open a ticket to follow approval progress, then confirm the building’s access and document requirements before arrival.
Check the result: the task exists and you have checked the processing status of each applicable ticket. Seeing a task name does not mean entry is approved.
If a visitor is missing, check the available records in My Visitors. Details: Visitor management and Tasks.
Construction work: complete the forms that apply
Scenario: a particular type of work requires an extra safety form.
Before starting, ask the BM to confirm that contractor personnel exist in the same building and are qualified.
- 1. Check every ticket
- 2. Read approval history
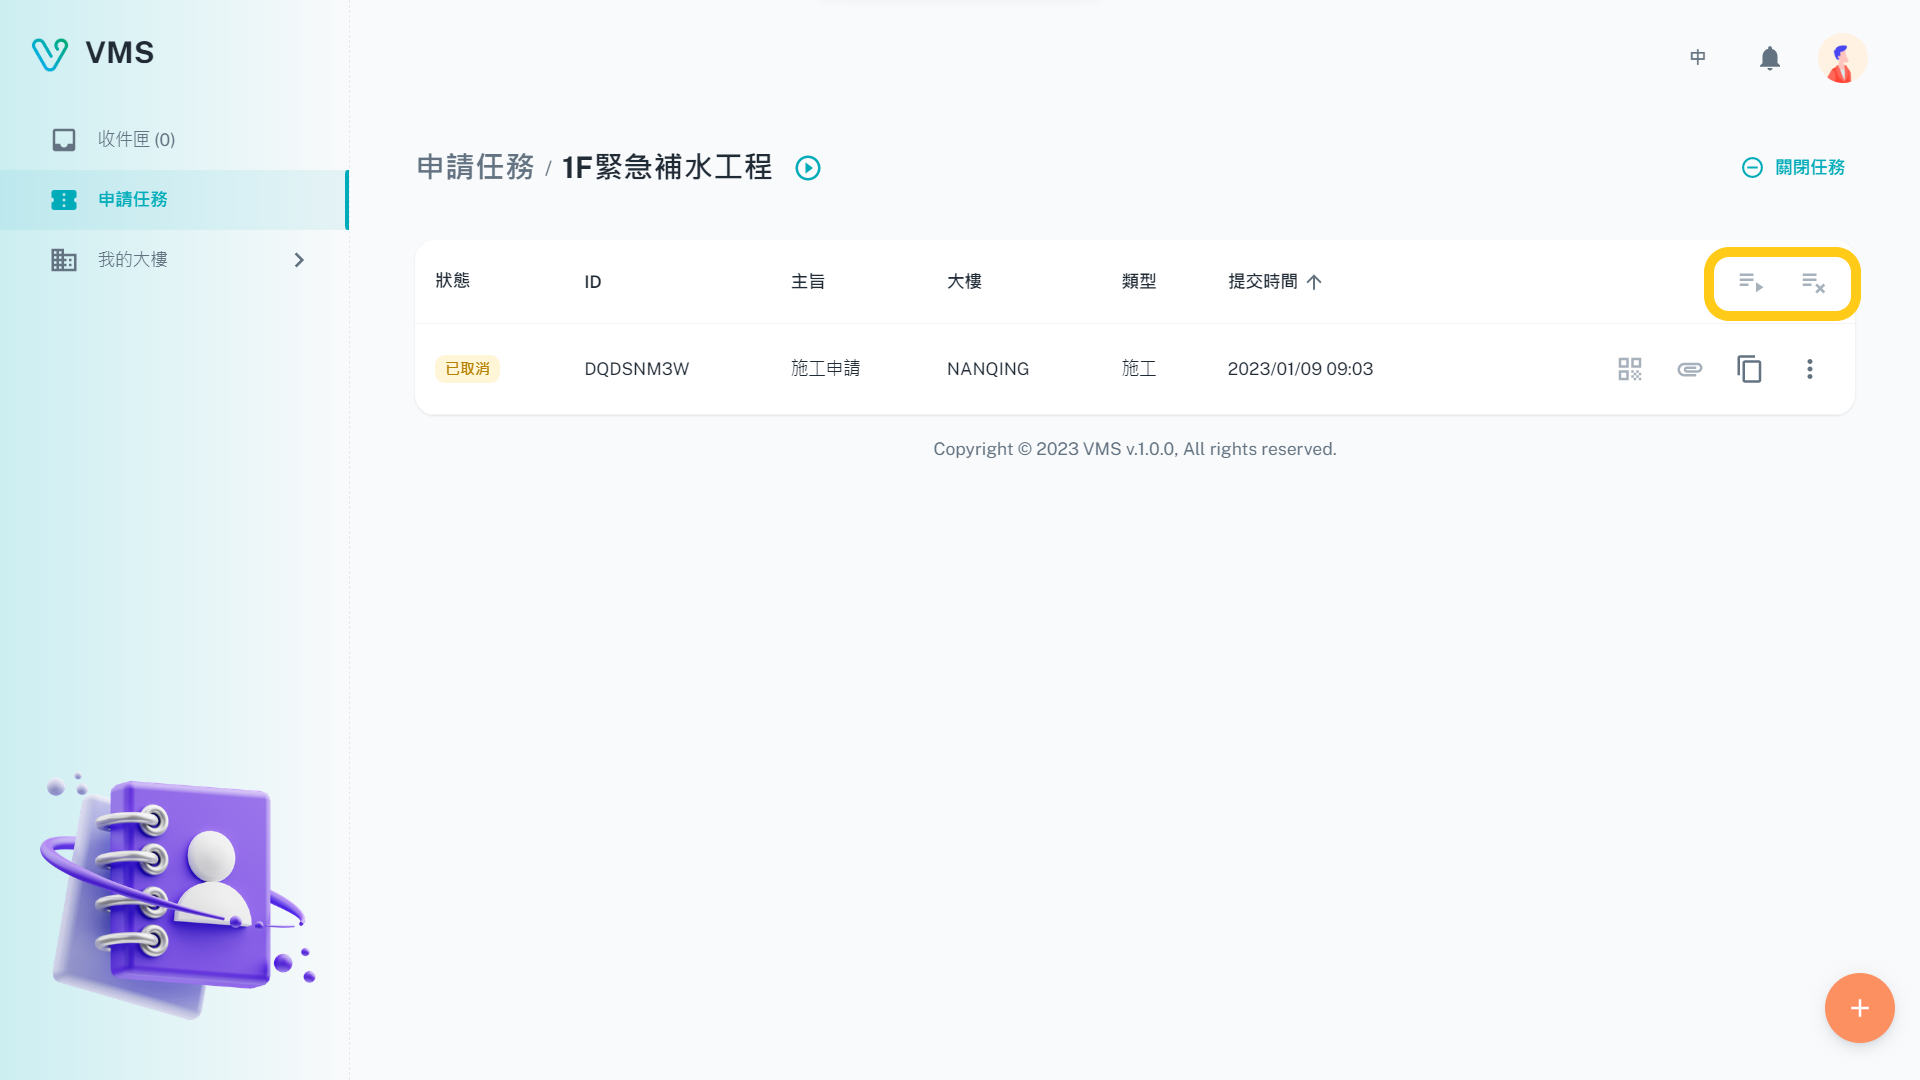
Check each ticket status separately. This earlier example contains a cancelled ticket; a visible task does not by itself mean entry is approved.
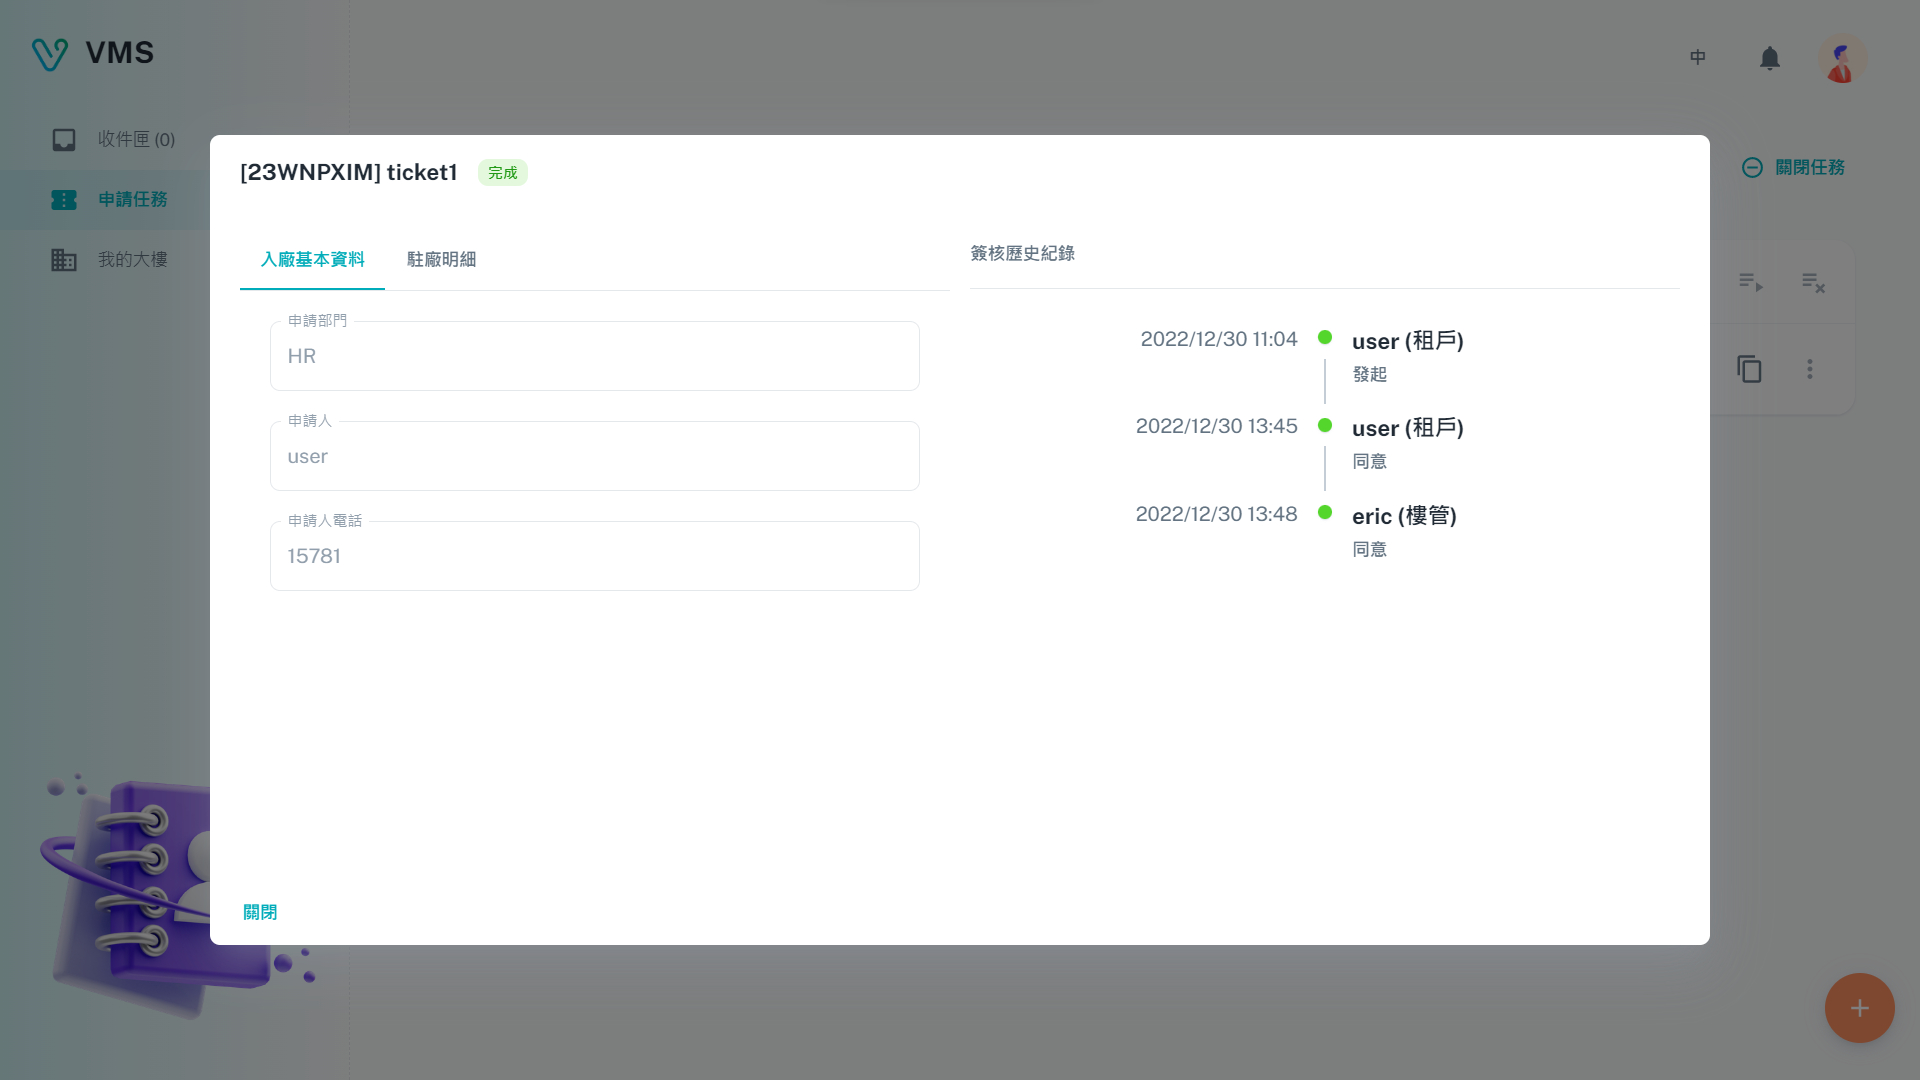
Open a ticket to compare its submitted content with the approval history. The current version also shows more detailed progress.
This earlier screenshot illustrates the feature. The current layout and button labels may differ.
- In Tasks, choose the building, construction type, and provided template.
- Complete the initial information and work options before checking later fields and forms.
- If the template has conditions, certain answers activate additional content. A missing form is not necessarily an error.
- Complete every visible required form. If you choose to fill an optional form, complete that form’s required information too.
- Recheck later tabs after changing earlier answers. A field or entire form may disappear, and its previous content may be cleared by the template.
- Check date-range limits and successful uploads, finish creating or submitting, then inspect each ticket’s approval progress.
Check the result: the submitted content matches the work selected. If a ticket is returned, read the suggestion, correct the content, and use the available resubmit action.
Next: follow your notification to a Toolbox meeting when required. For printing and detailed statuses, read Tasks.