Configure the rules before people use them
Administrators use the redesigned Settings workspace to maintain one building. Its indexed desktop sidebar groups Basic, People, Space, and Integration settings; compact screens use the same choices in a selector.
Set building basics
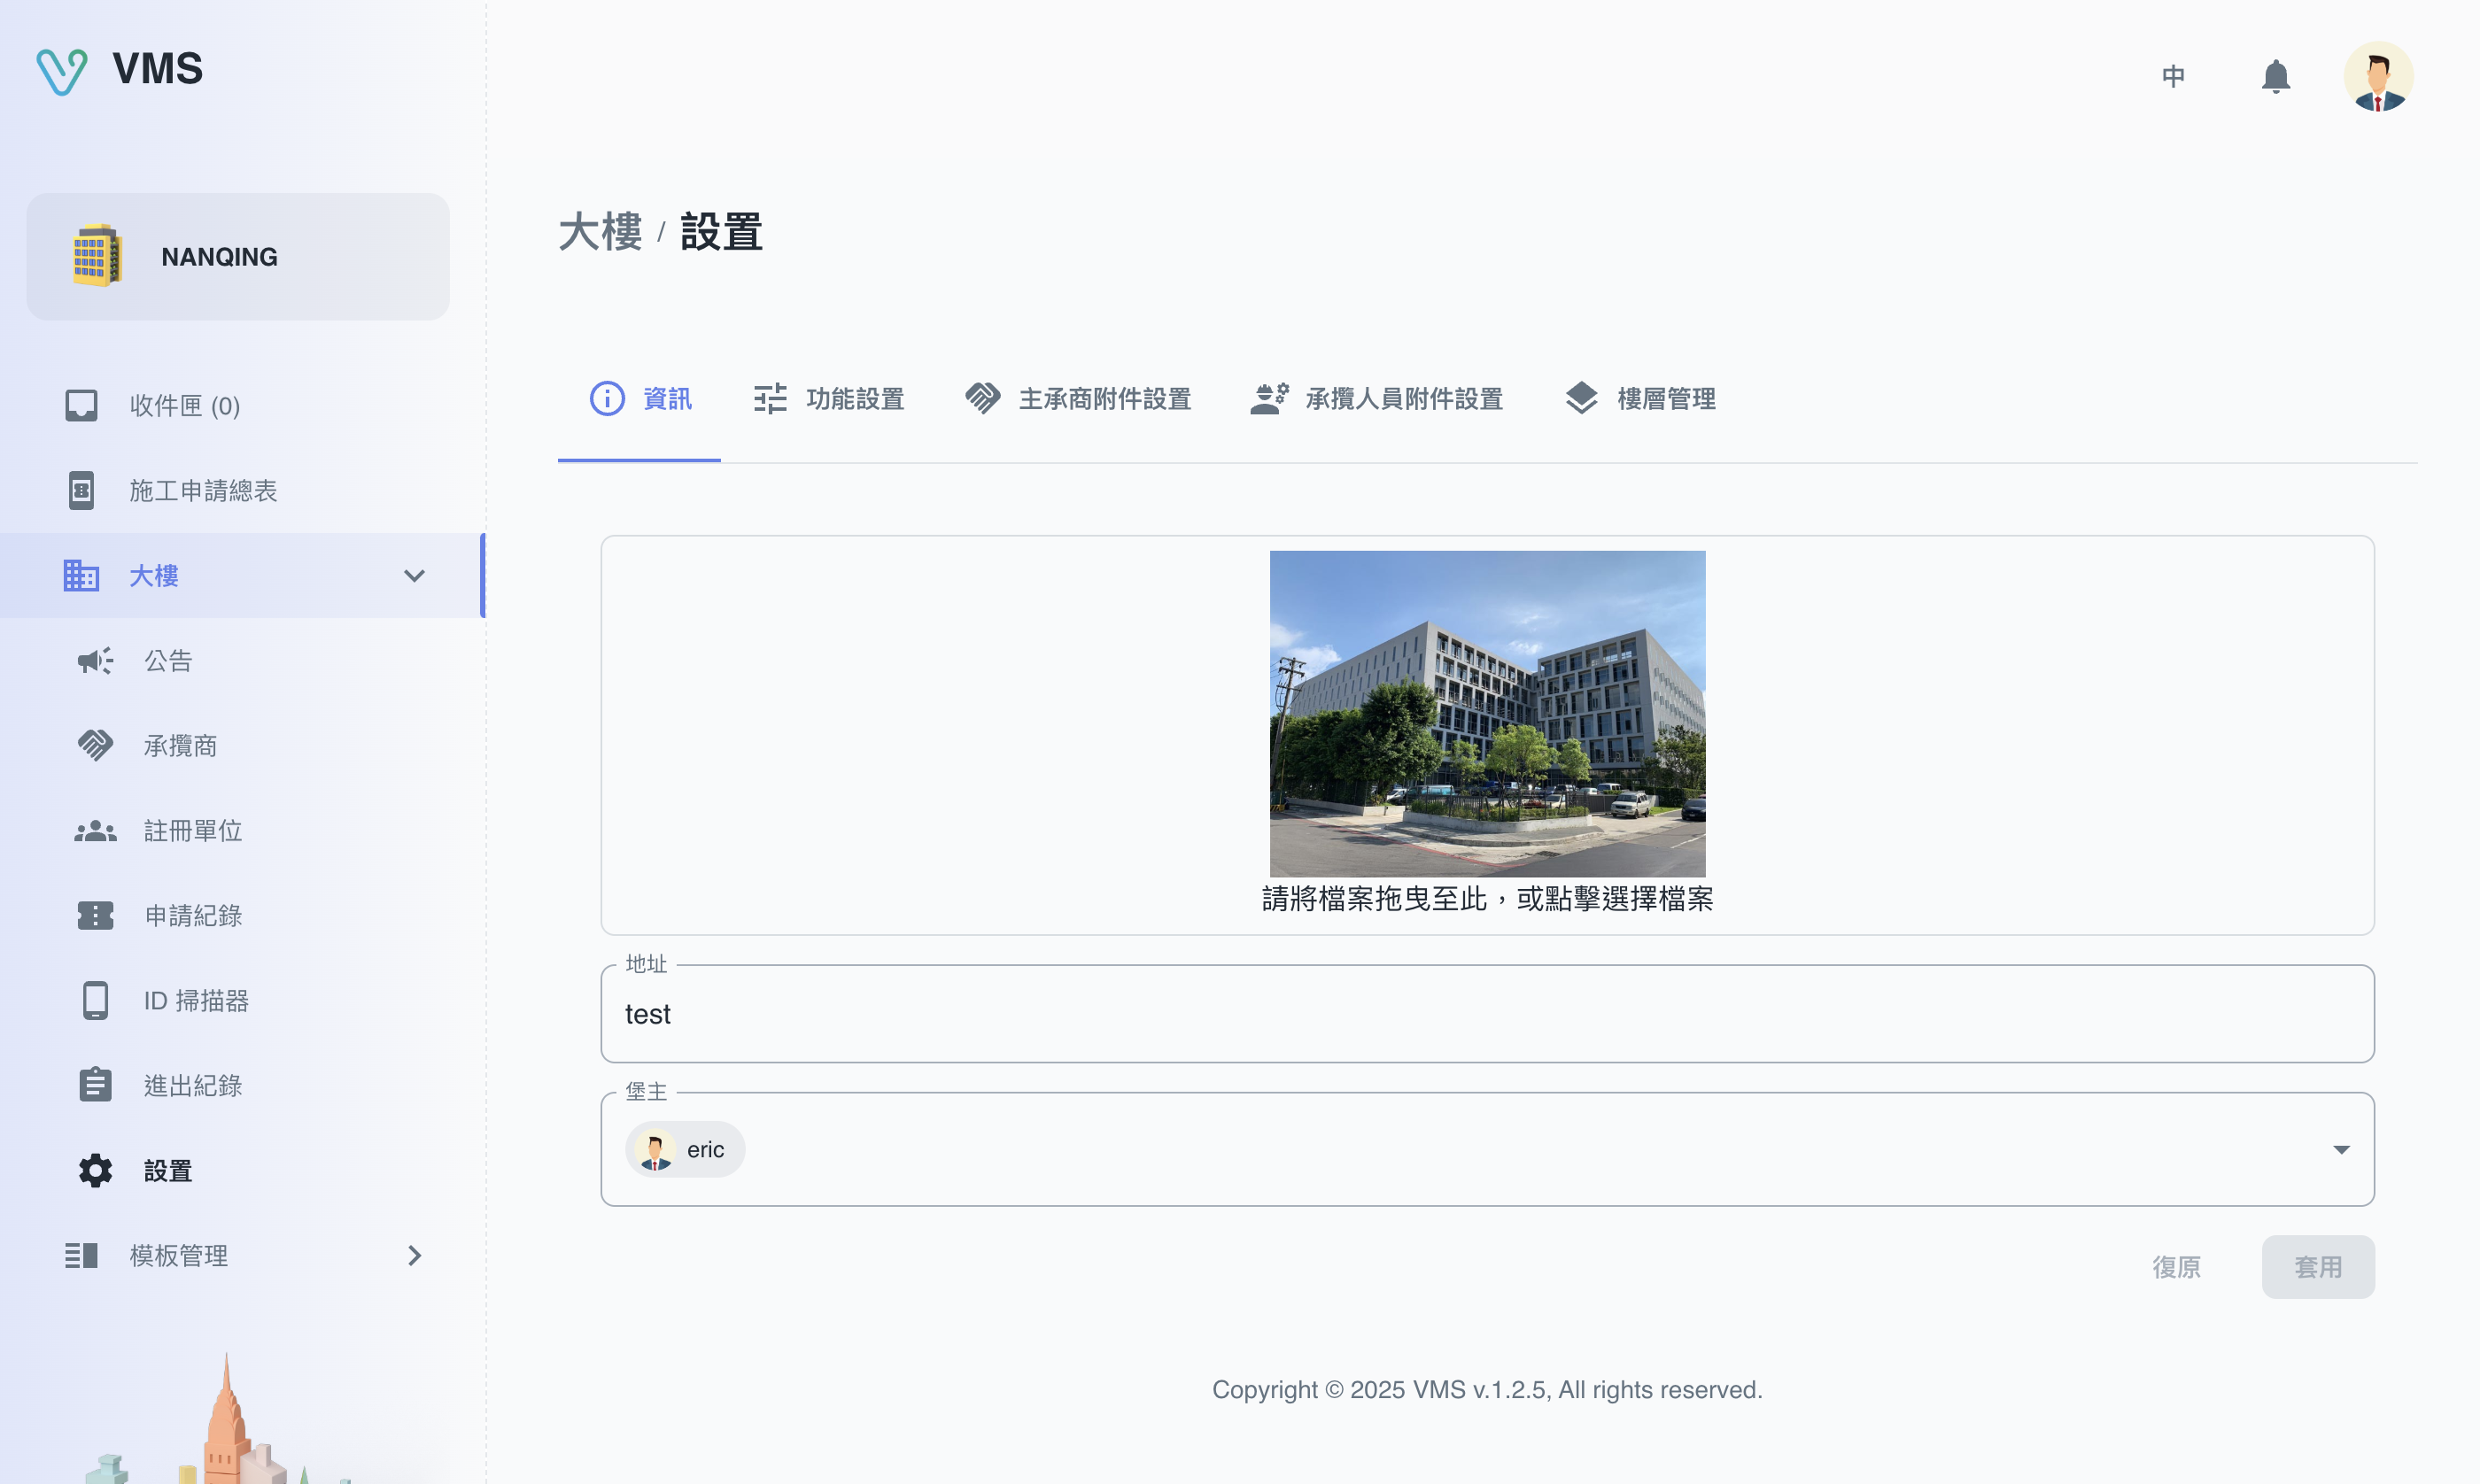
Check the building’s basic information before configuring floors and entry requirements.
This earlier screenshot illustrates the feature. The current layout and button labels may differ.
- Open Info to update the building image, address, and contact information, then save. The Building hub reflects the profile.
- Open Function Settings to set time zone, privilege password, guest clock-in window, and available functions. Enabling Floor Planner reveals its Settings entry; enabling OWL reveals its integration entry.
- Add or update applicant types before tenants submit applications. The types become available to relevant workflows.
Require the right contractor evidence
- Choose Contractor or Personnel under People.
- Add the attachment fields the record must collect, including text, date, and supported file fields; choose supported file extensions for file fields, then save the configuration.
- In Contractors, upload the requested values. The record shows missing, current, or expired attachment status, so renew expired evidence before qualification decisions.
For file fields, the current configuration supports .doc, .docx, .xls, .xlsx, and .pdf. Date fields can be configured to warn three months early or update on expiry; file fields can update on an empty value. Use the attachment arrangement action to control the order in which configured fields appear.
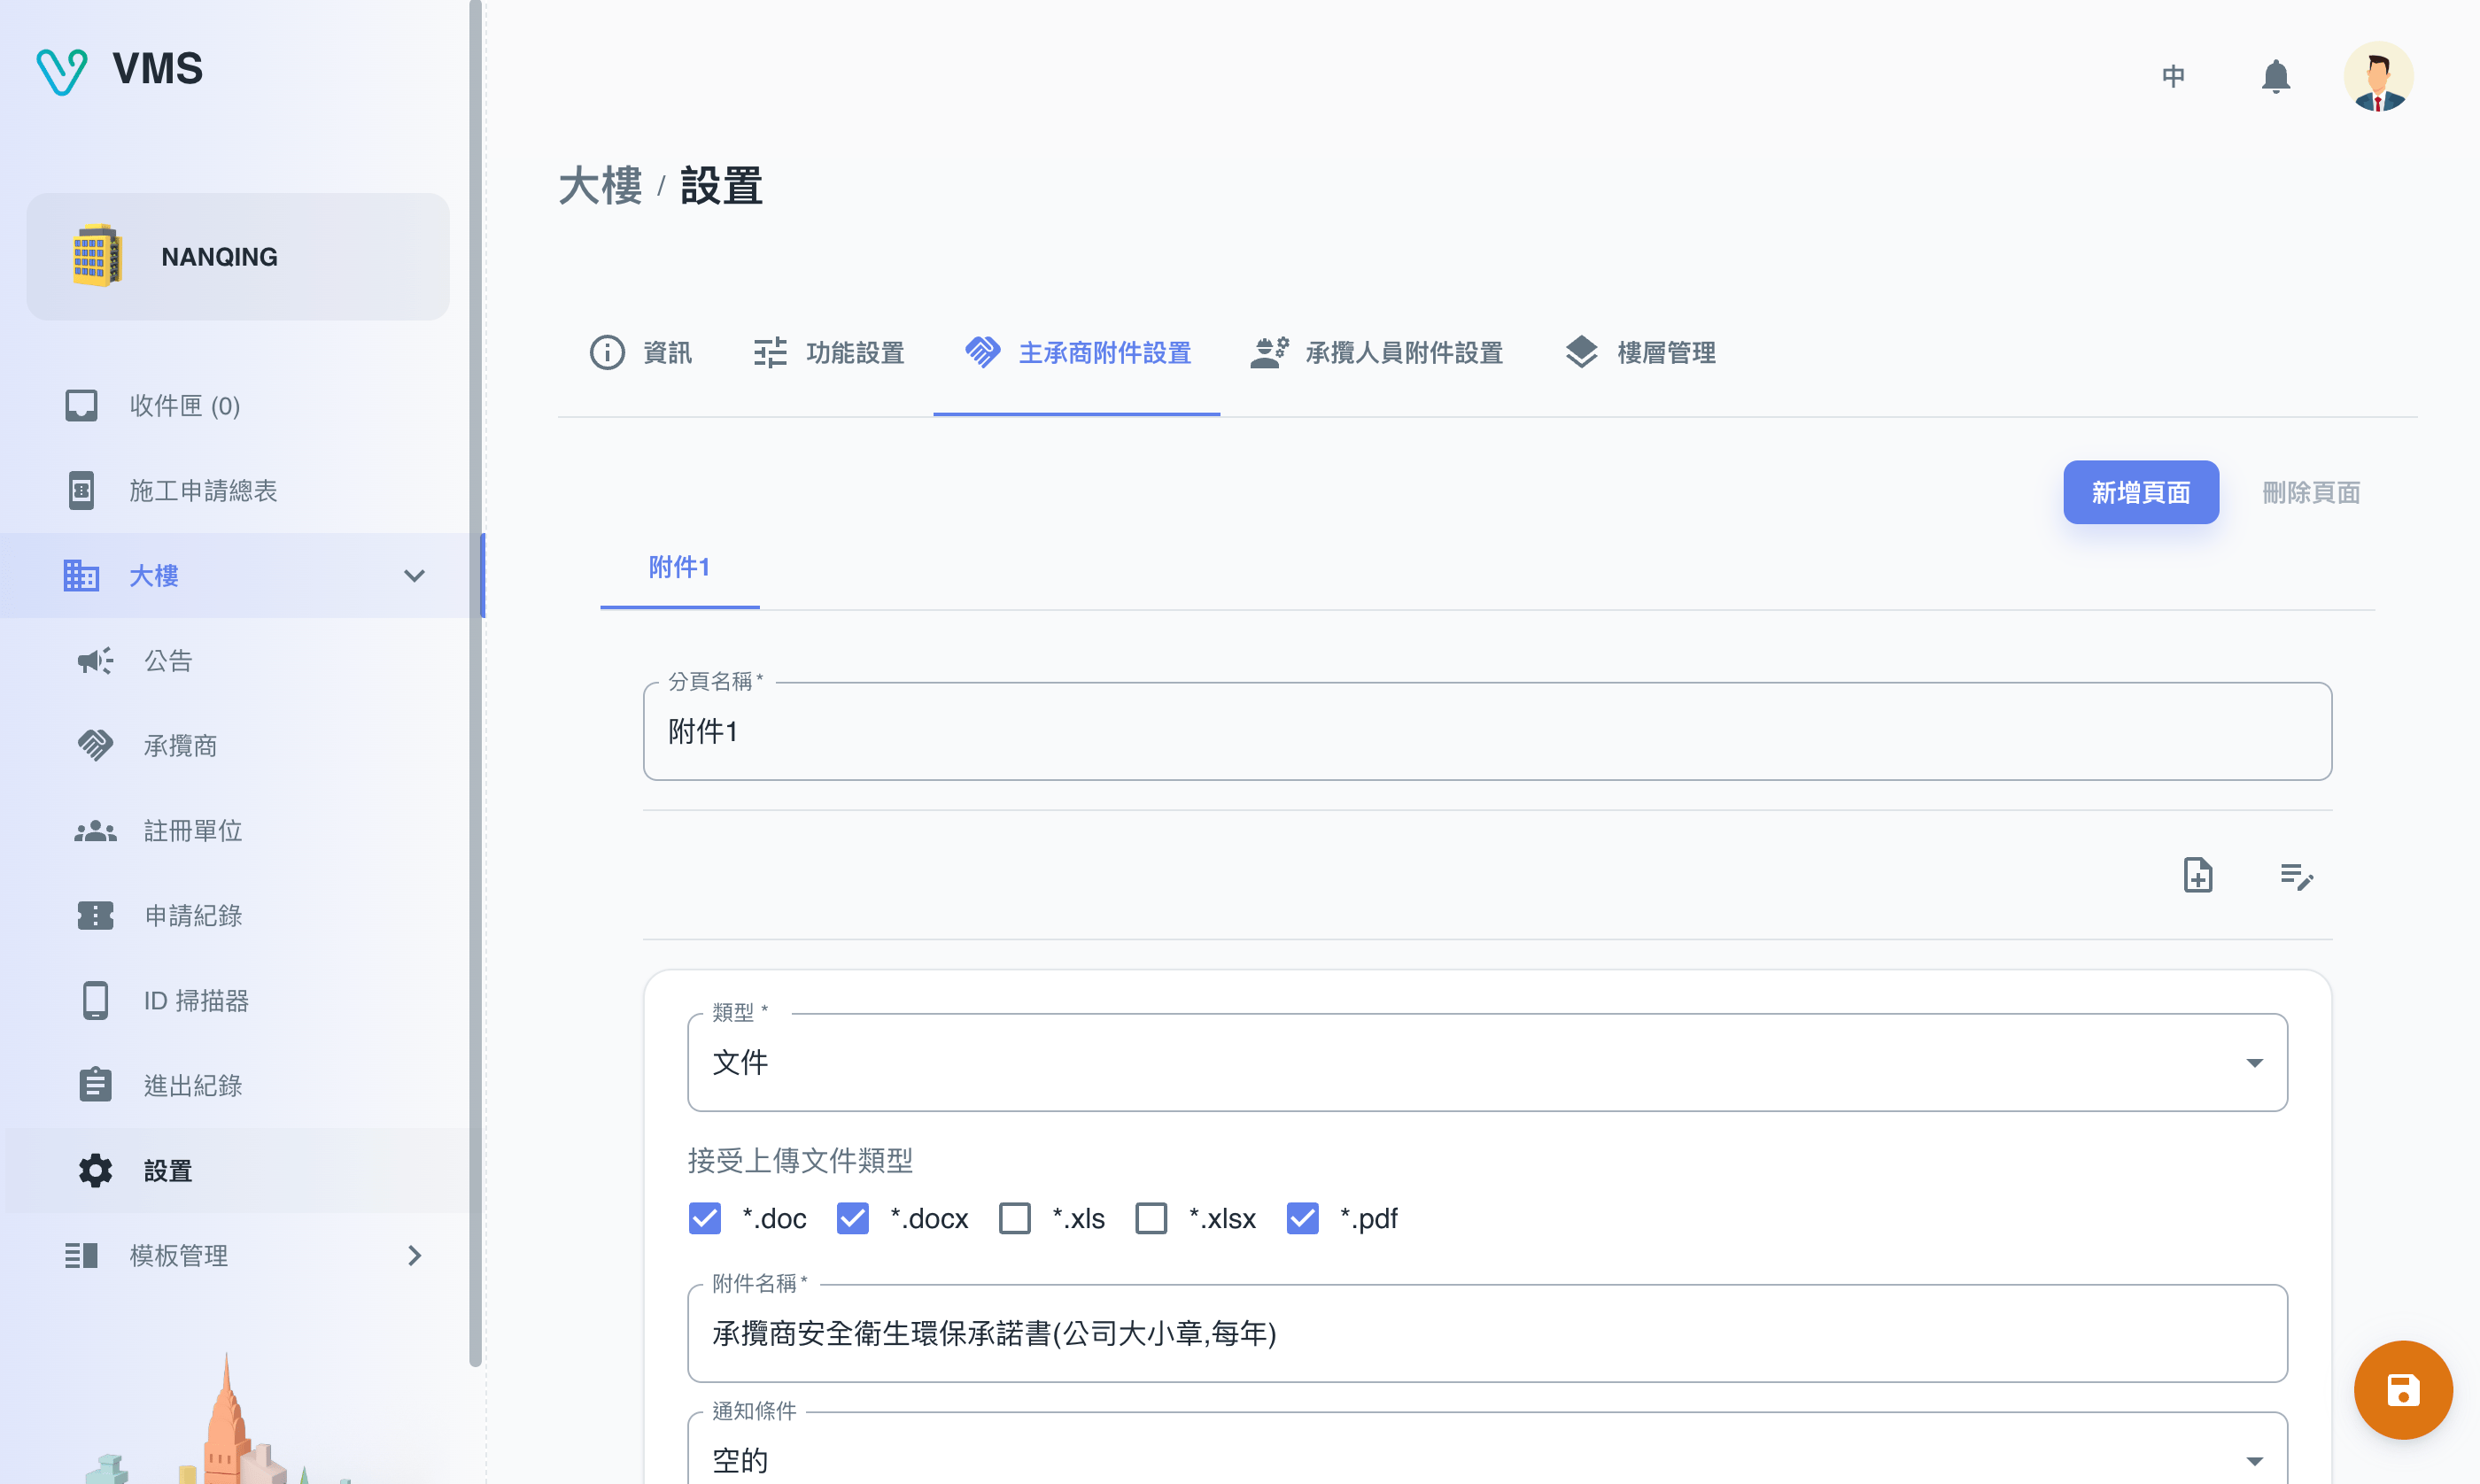
Keep exceptional building options in one place
Use Function Settings > Customized to view or edit the building’s custom configuration values. Keep normal settings such as modules, time zone, and the numeric four-character control password in the standard Function Settings form.
Set pre-entry requirements
- Open Pre-entry requirements and choose Add.
- Give the requirement a unique key and title, select its per-day, per-entry, or per-ticket condition, applicable guest types, and whether it is required.
- Save. Matching guest records can now collect the requirement; BM can audit notes and attachments from Guest Applications or a ticket.
Plan floors in the displayed order
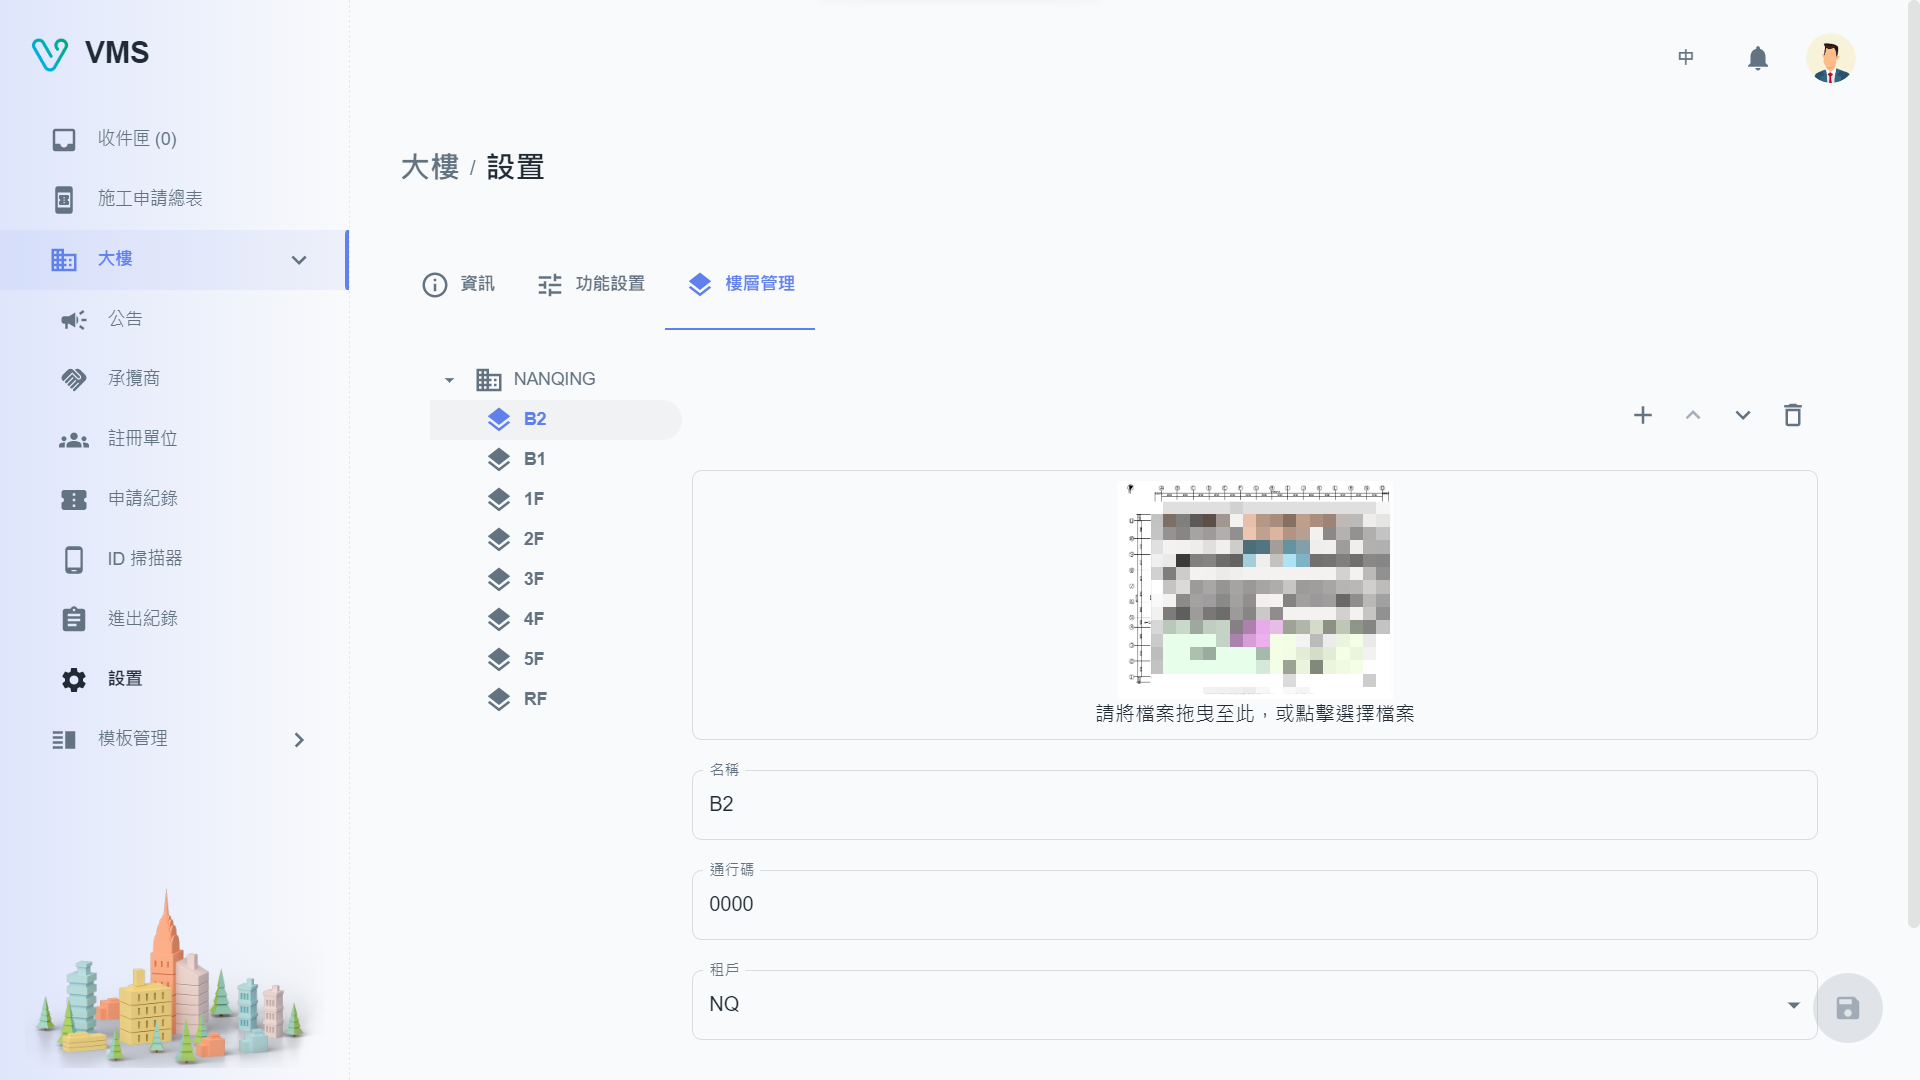
Confirm the floor and area records that applicants will need when choosing the work location.
This earlier screenshot illustrates the feature. The current layout and button labels may differ.
- Enable Floor Planner in Function Settings, then open Floor Planner.
- Add a floor, give it a name, upload its floor map, and assign registered units if needed.
- Drag the handle in the indexed floor sidebar to move a floor, then save. The edited order is stored with the floor records.
Every new floor needs a name and floor map before saving. Maps are limited to 15 MB. Continue to Registered Units.